To set up a Polycom phone follow the below steps.
Finding the MAC Address of the phone
Locate the House button on the Polycom phone.
Press the House button then use the rotary key (circle with arrows pointing up, down, left and right with a circle in the middle) to select Settings.
If you have a Polycom VVX5**/VVX6** then make the selection from the touch screen.
Once in Settings key in (slowly) 4,1,1.
Now you should have a screen with the details of the phone, note down the S/N and IPv4 (MAC address) numbers. (you will need these soon)
Auto Provisioning
Accessing Extensions in the PBX
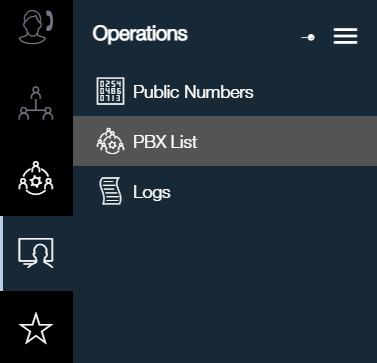
Go to the PBX dashboard and select the correct PBX by clicking on the icon shown in the below image:

Once this is clicked a menu will open to the right (shown below) Choose the PBX list.
It will now show you a screen with the PBX’s that are available to you, click the correct one for your needs. (the below is an example, please choose the PBX that is relevant to the user)
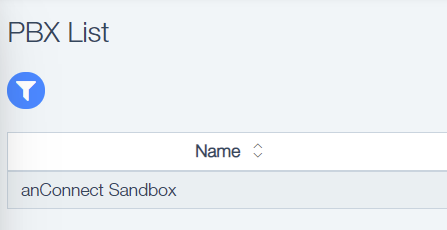
You should now be taken to the Dashboard for the selected PBX.
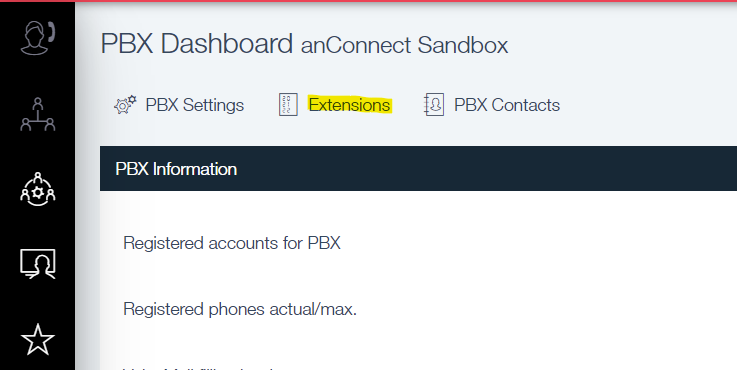
Extensions
Within the PBX dashboard click on Extensions.
This opens the list of extensions that you have.

In this section you have a Filter option (circle with a filter icon)
Then along the top menu bar you have:
- +New
- ++Generate
- x Delete
Under this is another menu bar including the following options:
- Check box
- Extension
- Display Name
- Department
- Call distribution mode
- PBX user
- Dial in number of
- Displayed public number
- Registration status
NOTE: make sure you have clicked the ‘Expert-Mode’ check box before going any further, see image below:

Click on the Filter button, in the Extension line (highlighted below) type the extension number of the person the phone is being set up for. Then hit the return (enter) key. You could also search by name.

Once you have located the extension/person that you are provisioning the phone for click anywhere in the line (not the check box) and it will open the extension details. the top left of the page should have the below options:
Then under these should be the options in boxes.
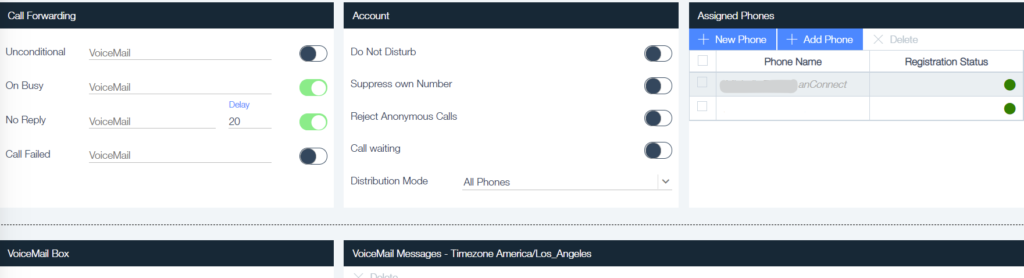
For this go to the last box on the right of the top row (assigned phones)
See larger image below:
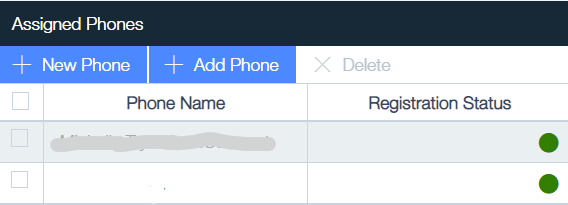
In this section should be the user name in the first box (this has been blanked out in this screenshot)
In the box below this should be the users Extension number followed by their DID.
Adding the Phone
Click on ‘+New Phone’ button above the table. Using Auto Provisioning follow the below steps:
After clicking on the +New phone a new screen should open:
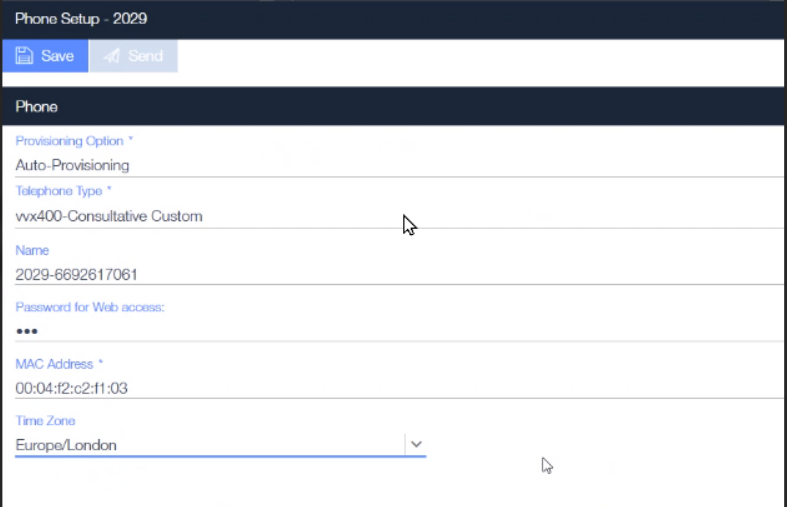
For Provisioning Option use the Auto-Provisioning option.
In the Telephone type field start to type in the model number of the Phone (for example VVX4 and the option will be there for you to click)
In Name we would recommend that you input the users Extension number followed by their DID.
The Password should be 456 unless your admin have changed this.
The MAC address is one of the numbers that you have from step one. Locate the MAC address number (also known as S/N normally beginning with 64167f or 0004f2)
Time zone should be set to the users zone.
Now click on ‘send’ (this should send an email to the user) then click ‘save’
Now follow the steps to do a factory Reset.
Factory Reset
Go back to the phone and using the Home button as before choose settings and press the 2 key, add the password (remember this should be 456 unless changed by Admin)
Next slowly key in 1,5,5 IT IS IMPORTANT AT THIS POINT THAT YOU READ THE PHONES DISPLAY SCREEN.
ONLY PROCEED IF: The display shows RESET TO FACTORY SETTINGS. If you do not see this message please begin the process from the start of this section, do not click select.
The phone should now reboot, this can take a few minutes so please be patient.
Once it is rebooted, go back into the PBX and see if the dot in Assigned Phone table has turned Green.
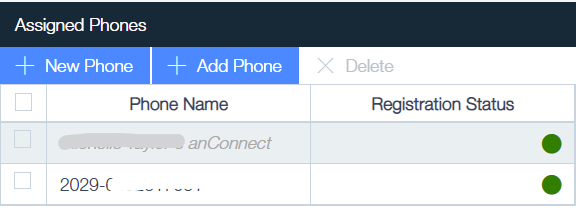
As before you should see the persons name then the status and the second line should the extension number and DID with a status. (unless you have input something else in the name field)
The next step is important, Conduct a TEST CALL. Doing this will check you have correctly assigned the phone.
Buttons
Once you have conducted a successful test call you can move onto buttons.
To do this select the extension from the list again in the PBX and menu click on the extension-DID number this should open a new window with the top part looking like the below image:
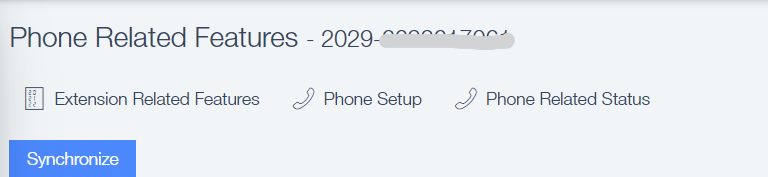
Below this should be a list of Phone Keys (buttons) the first one should always be set to a Line Type.
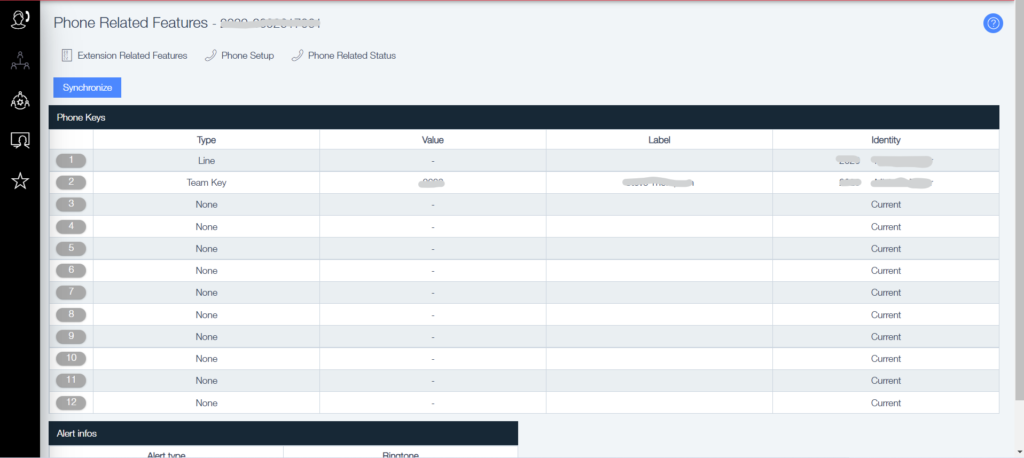
The difference between the keys is:
Line key – Allows you to answer someone else line (with their permission)
Team Key – This is an internal number (Use the button to call another user)
Adding a Team Key
To add a team key click on the line you want the key to use, this will open a box asking for the Key Type – select Team Key then under this is the option to add the number of the user. Once you have done this click on the Synchronize button above the table.
Now the phone will need to be reset again. Follow the instructions for factory reset.
Adding a Line Key
Setting a Line key is a bit more complicated than the Team key. It requires permissions to be given for the option. Follow the below steps:
- Go to the PBX Client
- Click Extensions
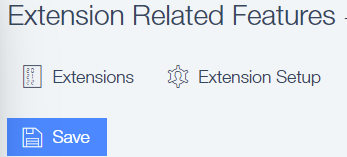
- Choose the Extension/user (use the filter option) click the required one and it will take you to Extension Related Features
- Now click on the +Add Phone (show in the image below this list)
- Add the number and click on save
- Go back to Extension
- Select the user that you have just given permission to and add the Line Key.
- Click on the line number you require the key on
- Choose the Line Key option
- In Identity there should be a drop down list to choose from. Select the number you just gave permission for
- Click on Synchronize
- Reset the phone (follow the steps given in Factory Reset section)
Now you should have a shared line that either user can answer.
NOTE: All numbers will use the standard North American Dialing prefix (1)
Manual Provisioning of a Polycom Phone
This process begins much like the Auto provisioning. This method will not need the MAC Address just the IPv4 number. Follow the instructions from the Auto Provisioning method up to where you input the Provisioning option.
Under the provisioning option select the Configuration of the provisioning file URL
Choose the phone type (start typing and choose from the list)
Set the Name of the phone to the extension and the users DID
Time Zone should be the zone that the user is in
Now click on ‘Send’ then ‘Save’
Now you should have a window open with a text file, you need to copy out this file as you will need it in the next steps.
Open a web browser and type in HTTPS:// followed by the IPv4 address.
When opening this page you may get a message saying that the site is not secure, continue on to the site anyway.
A page should then open up that looks something like the below image:
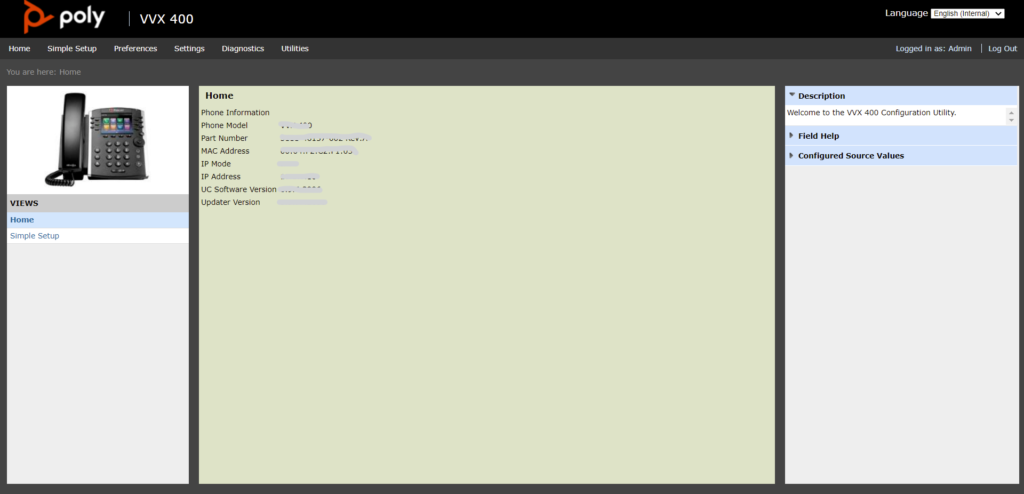
Go to Settings (in the menu under the Poly logo) and select ‘Provisioning Server’
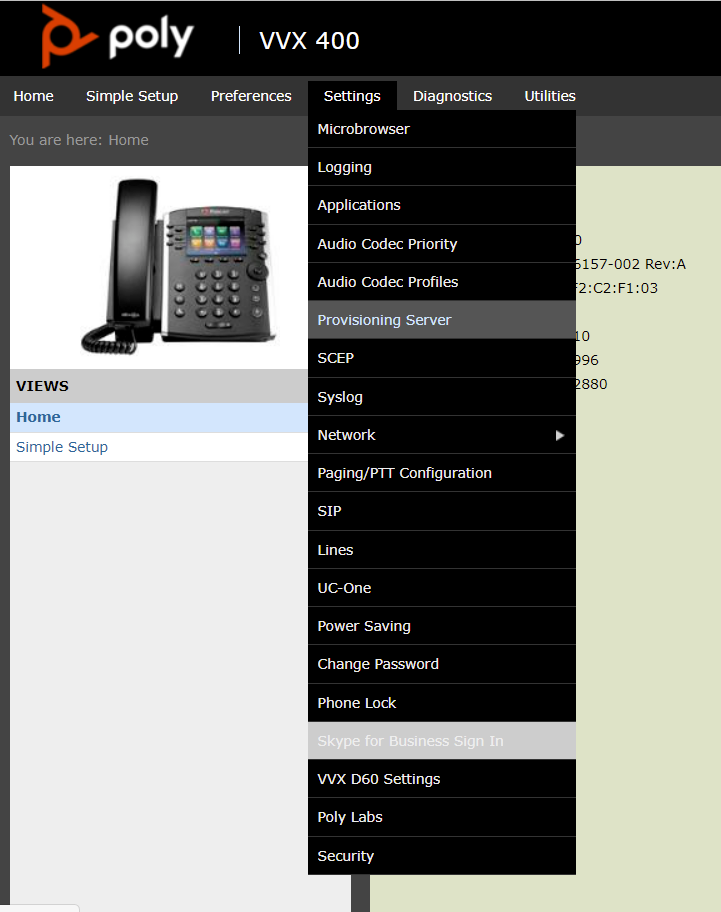
This should open the following page:
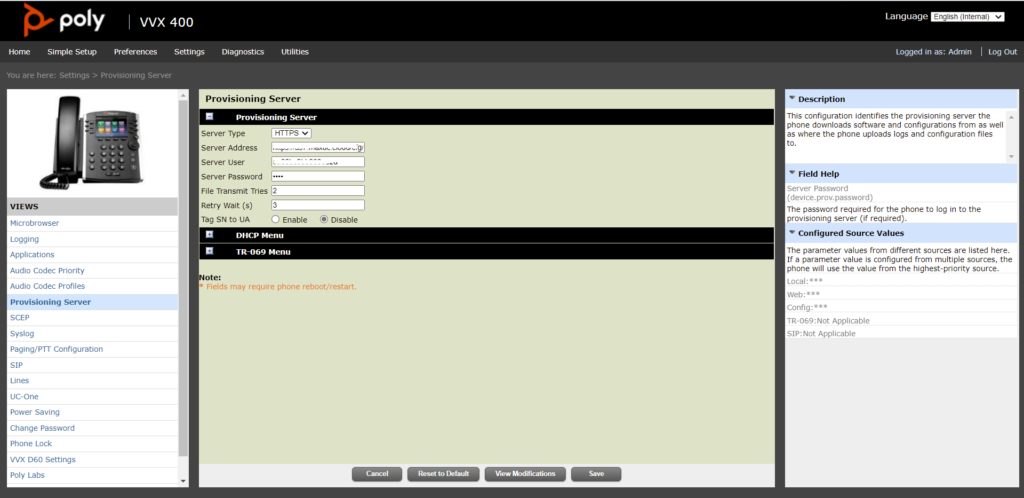
This is the screen where the information you have in the text file is going to be used.
Follow these steps:
- In the server type, choose from the list in here the option that matches from the text file under ‘Protocol type’
- In server address you need information from the text file.
- Copy the line for the server IP/Address from the first character ensure you have no spaces in the copy on either side of the text.
- Paste this below the text file
- Copy the File Name again ensure there are no spaces
- Paste this next to the previous (making one line of continuous text)
- Copy this line and add it in the Server Address field
- Server Password is the phones password (456 unless changed by Admin)
- Click on the ‘Save’ button
The phone should now restart. If after 30 seconds nothing has happened go to Utilities in the menu bar and choose Reboot Phone – IMPORTANT DO NOT SELECT RESTART!
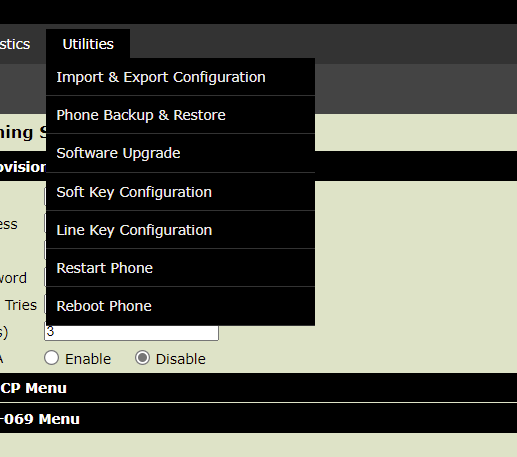
Again ensure you have selected the Reboot and NOT Restart.
The phone should now reboot. Once this is done you are ready to go and can input your keys using the instruction in the Buttons section.
If you are still experiencing issues after these steps then the problem could be due to other factors such as; Location, Firewalls, Routers, Distance or a complex network setup. Contact your system Admin to check settings.